


How to Shoot Solo
Shooting alone can feel like a chaotic game of tag between you and the camera. Here is my step-by-step workflow for solo portrait photography sessions.
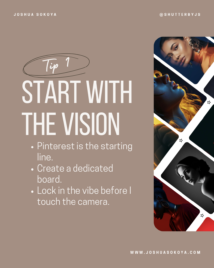
Step 1: Start with the Vision
Don’t touch your camera until you know exactly what you’re shooting.
Pinterest is the starting line: Use it to lock in the vibe, lighting, and posing for your creative photography.
The Dedicated Board: I create a new board for every solo photoshoot project so I don’t get distracted by old ideas.
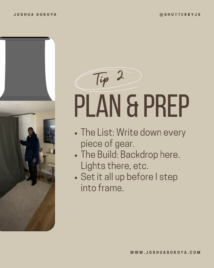
Step 2: Plan & Prep
The goal is to have the technical side 100% finished before you step into the frame.
The Gear List: Write down every single item you need for your solo studio setup so you aren’t searching for batteries mid-shoot.
The Build: This is where I go: backdrop here, lights there.
Pre-Set Everything: Dial in your solo lighting portrait setup and framing using a stand-in or a chair before you start. These portrait lighting tips will save you hours of frustration.
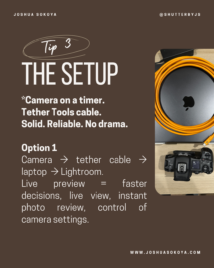
Step 3: Choose Your Tech Setup
Tethering is the “secret sauce” for self-shooting techniques because it removes the guesswork.
Option 1: The Laptop Setup (My Preference)
The Workflow: Camera → Tether Tools cable → Laptop → Lightroom.
Why it works: You get a massive live preview, instant photo review, and full control over your camera settings from the computer-perfect for any single photographer working alone.
Option 2: The Mobile/iPad Setup
The Workflow: Camera → Tether Tools cable → iPad → Cascable App.
Why it works: If you want to stay light and portable, this gives you a live view and instant review right at your fingertips.
Option 3: The Bluetooth Remote
The Workflow: Use a dedicated remote to focus and trigger the shutter.
Why it works: No more running back and forth to the camera. Use the focus button to lock on, then hit the shutter-essential for solo portrait photography.
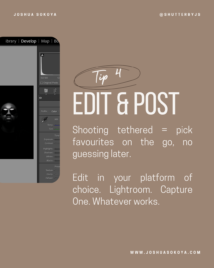
Step 4: Edit & Post
Shooting tethered makes the “after” much faster. Because you can see the images as they happen, you can pick your favorites on the go.
Platform: Once the session is done, pull your favorites into Lightroom or Capture One.
Post: Edit for the vibe you locked in during Step 1, then get it on the feed.
The Gear I Use (Affiliate Links)
To make your solo sessions “no drama,” you need reliable gear. Here is exactly what I use:
-
The Only Cables I Trust: Tether tools
-
My Bluetooth Remote: Camera Remote
-
Essential iPad App: Cascable App
-
My Go-To Backdrop System: Backdrop Stand
FAQs
What does solo shot mean?
A solo shot is a photograph you take of yourself by setting up the camera and stepping into the frame as both photographer and subject.
How to do a solo photoshoot?
Plan your concept, set up your gear and lighting completely, use tethering or a remote to trigger the camera, then step into frame and shoot.
Can I say shoot a photo?
Yes, “shoot a photo” is correct and commonly used in photography.
How does SoloShot work?
SoloShot is an automated camera mount that tracks your movement using a sensor, automatically panning and tilting to keep you in frame.
Hey Joshua!
Thank you so much for sharing your gear list 😊
You’re welcome!
Hola Joshua:
Muchas gracias por compartir tus técnicas. Una consulta que modelo de Bluetooth Remote, para Sony A7RIII recomiendas.
Muchas gracias!
Hola José, existe una versión de Sony que funcionará con tu cámara. Aquí lo tienes: https://amzn.to/4cn6FA5
[…] Solo shooting with one flash teaches fundamental lighting skills. Position your flash off camera for dimensional portraits. Direct flash creates flat lighting, but angling it to the side adds depth and texture. Bounce the light off walls or ceilings for softer, more natural results. […]
[…] Solo shooting with one flash teaches fundamental lighting skills. Position your flash off camera for dimensional portraits. Direct flash creates flat lighting, but angling it to the side adds depth and texture. Bounce the light off walls or ceilings for softer, more natural results. […]
[…] Solo shooting requires planning and preparation. Set up your light and test positions before your subject arrives. Take test shots with a stand-in or self-timer. Mark floor positions with tape for consistent placement. […]