

THE 1 LIGHT SETUP
EQUIPMENT USED (WITH LINKS)
Camera & Lens:
Lights:
– Used as the key light
Godox Trigger XPro-C (make sure to select the correct one for your camera)
– This is used to trigger the flash when the shutter is released
Softbox:
– The softbox used for the key light
– Used to mount bowens style modifiers on to the AD200
Stands:
Accessories:
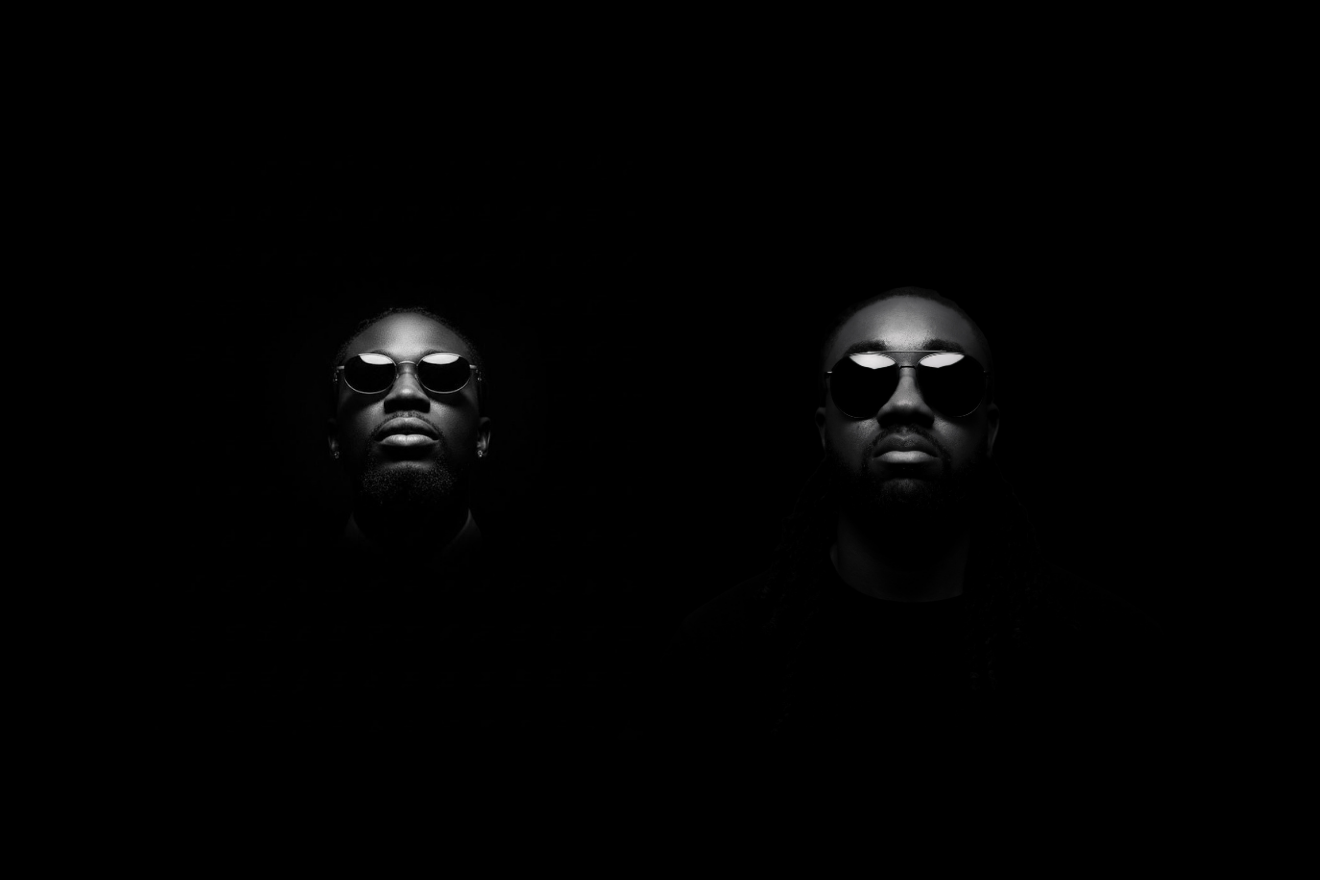
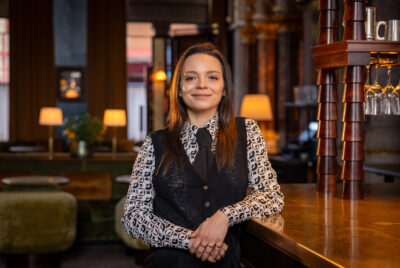
1 Light Setup Portrait
Creating stunning portraits doesn’t require expensive equipment or complicated setups. Moody portrait lighting focuses on shadows and contrast to produce powerful images. Solo shooting with minimal gear teaches essential lighting skills that transform ordinary portraits into artistic works.
The Power of Single Light
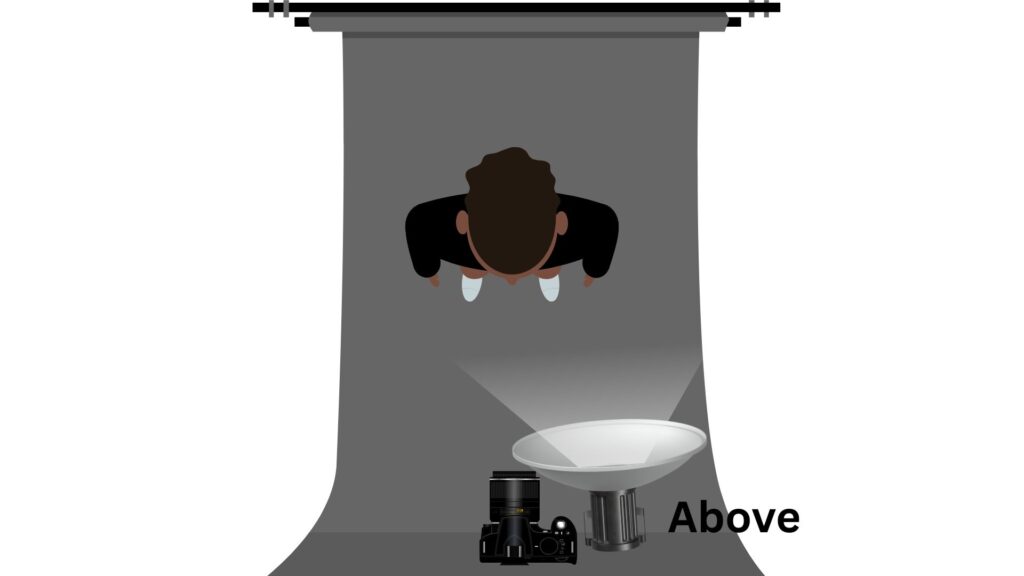
One-light photography setup proves that simplicity creates impact. A single light source gives you complete control over mood and atmosphere. Position your light to one side of your subject for dramatic shadows. The further you move it, the deeper those shadows become.
What makes one light so effective? It mimics natural light patterns our eyes recognize. Window light, streetlamps, and moonlight all come from single sources. Your brain reads these lighting patterns as natural and believable. This creates emotional connections with viewers.
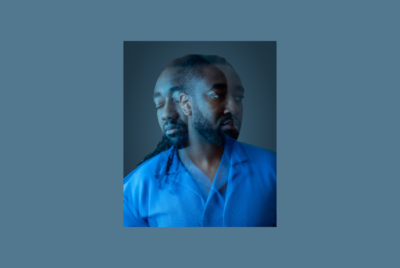
Creative lighting setups start with understanding light direction. Side lighting emphasizes texture and creates dimension. Backlighting produces silhouettes and rim light effects. Top lighting adds mystery and drama. Each angle tells a different story.
Creating Drama and Mood
Dramatic lighting techniques rely on contrast between light and shadow. Low-key photography tips focus on keeping most of your frame dark. Expose for your highlights and let shadows fall deep. This approach creates mysterious, cinematic portraits.
Studio lighting inspiration comes from observing natural light. Notice how afternoon sun streams through windows. Watch how streetlights create pools of illumination at night. Recreate these patterns with your single light source. Add modifiers to soften or harden the quality.
Moody portrait lighting works best with dark backgrounds. Black or deep gray backdrops absorb light naturally. Position your subject several feet from the background. This separation prevents light spill and maintains deep shadows.
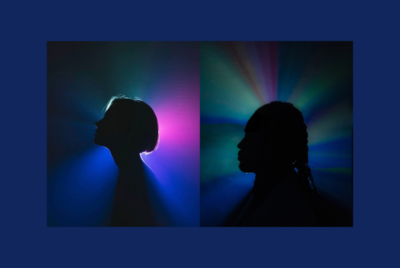
Working with Laser Effects
Laser portrait techniques add creative visual elements to moody setups. Thin laser beams slice through darkness with colored light. Red and green lasers create cyberpunk aesthetics. Blue lasers add cool, futuristic tones. Position lasers at angles to create geometric patterns.
Combine your main light with laser accents for striking results. Set your key light first to illuminate your subject properly. Add laser lines behind or beside them for visual interest. Long exposures capture laser trails while maintaining sharp subject detail.
Practical Solo Shooting Tips
Solo shooting requires planning and preparation. Set up your light and test positions before your subject arrives. Take test shots with a stand-in or self-timer. Mark floor positions with tape for consistent placement.
One-light photography setup gives you mobility and speed. You can work in small spaces easily. Moving one light takes seconds compared to adjusting multiple sources. This flexibility helps you experiment and find perfect angles quickly.
Start with your light at 45 degrees to your subject. Adjust height to control shadow fall. Move closer for softer light or back for harder edges. Small adjustments create big changes in final results.
Technical Considerations
Choose modifiers based on desired mood. Bare bulb flash creates hard, dramatic shadows. Softboxes produce gentle transitions. Beauty dishes offer a middle ground. Grids focus light tightly for spotlit effects.
Control ambient light by adjusting shutter speed. Faster speeds darken backgrounds and increase drama. Slower speeds let room light blend with your flash. For pure low-key work, eliminate ambient completely.
FAQs
Can you do headshots with one light?
Yes, one light creates professional headshots easily. Position it at 45 degrees to your subject and slightly above eye level. Use a softbox for flattering, even illumination.
What is the basic lighting setup?
The basic setup uses one key light at 45 degrees to the subject. Place it slightly above eye level pointing down. This creates natural looking dimension and flattering shadows.
What is one light photography?
One light photography uses a single light source to illuminate your subject. It teaches fundamental lighting principles and creates dramatic, focused portraits with strong shadows and highlights.
Should I use 85mm or 50mm for portrait?
Use 85mm for flattering compression and tight headshots. Choose 50mm for environmental portraits or when shooting in smaller spaces. Both lenses work well for portraits.
I like the gear used
[…] One light setup forms the foundation of good portrait work. A single light source placed at 45 degrees creates dimension and depth. This simple approach teaches you how shadows shape faces. Move your light closer for soft effects or farther for harder shadows. […]